Reverse Logistics
Part of Reducing avoidable returns
Fixing packaging problems behind transit damage
Investigate arrival damage, specify a product-level packing change and review later deliveries while handling customer remedies separately.
Compare the product, its inner protection and outer pack when investigating damage on arrival. Use repeated damage patterns to identify a product-level packing change, then check the revised instruction on later deliveries.
A crushed carton can suggest an impact, but it does not establish when the product broke or who caused it.
Find the pattern and the pack used
Gather reports for the same product or packing method. Link each to its variant, dispatch date, parcel service, packing instruction and available arrival evidence.
Keep the customer's account distinct from what staff later observe on a returned unit. Ask for a photograph when useful, with another way to report the problem for customers who cannot provide one.
Look for repeated damage locations: a chipped corner, cracked glass, bent edge or loose component raises different protection questions. Rattling or shifted contents may point to excess space, while scuffs may point to surfaces rubbing together.
Check the product's condition before dispatch where records permit, whether the specified materials were used and how the item sat inside the carton. If those records are missing, keep the cause uncertain.
Handle the customer's reported problem without waiting for a carrier dispute.
Packaging-Related Damage Trends to Monitor
- Common Damage TypesChipped corners, cracked glass, bent edges, loose components
- Primary CausesExcess space, inadequate cushioning, poor sealing
- Customer Reporting MethodsPhotographs, online forms, phone calls (ensure alternative access for those unable to photograph)
Match the pack to the risk
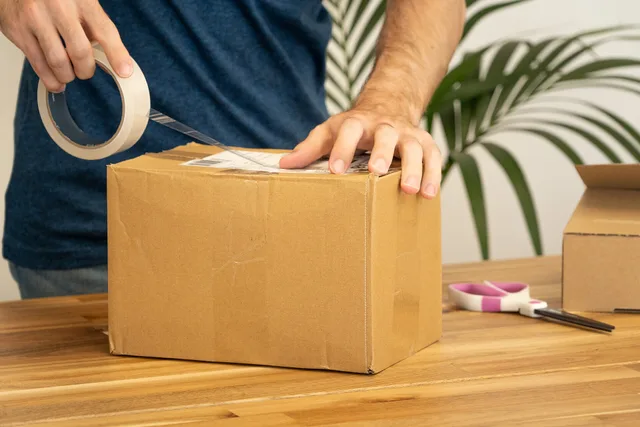
Australia Post advises that packaging should be durable, fit the item well, be secured with heavy-duty packing tape, and not be too loose or too tight. Check the chosen service and product before adopting a design.
Match the observed weakness to a pack change. For shifting contents, try paper void fill, packing peanuts or air pillows; use dividers to keep separate items apart, and foam wrapping where surfaces need protection from movement.
For example, if reports show a glass item arriving chipped and loose in its carton, trial an instruction to wrap it in bubble wrap, place it in a sturdy box and fill remaining space with paper void fill so it cannot shift. Close the box with heavy-duty packing tape and check that the item is neither too loose nor too tight.
Specify the carton, inner protection, item placement and closure for that product or a genuinely similar group. Make the instruction precise enough for packers to repeat the same arrangement.
Build a sample with the real item and the materials packers will use. Check that the packaging is durable, the item fits without excess space or pressure, and the carton is secured with heavy-duty packing tape before using the revised instruction.
Track the revised pack
Record the pack version, first use date, affected SKUs and remaining old materials. If both versions are used at once, record which orders received each one.
Compare damage reports and physically returned damaged units for shipments using each pack version, showing units shipped and a similar follow-up period. Without that link, later complaints cannot reliably be assigned to the change.
Read the later cases as well as comparing reports. A different damage location may reveal another weakness, while fewer reports may reflect fewer shipments or a changed product mix.
Before vs After Packaging Changes for Fragile Items
- Before ChangeLoose item in standard box, no internal protection, light tape closure
- After ChangeItem wrapped in bubble wrap, placed in sturdy box with paper void fill, secured with heavy-duty packing tape